
How to Read a Stake for Curb Layout
June 05, 2026
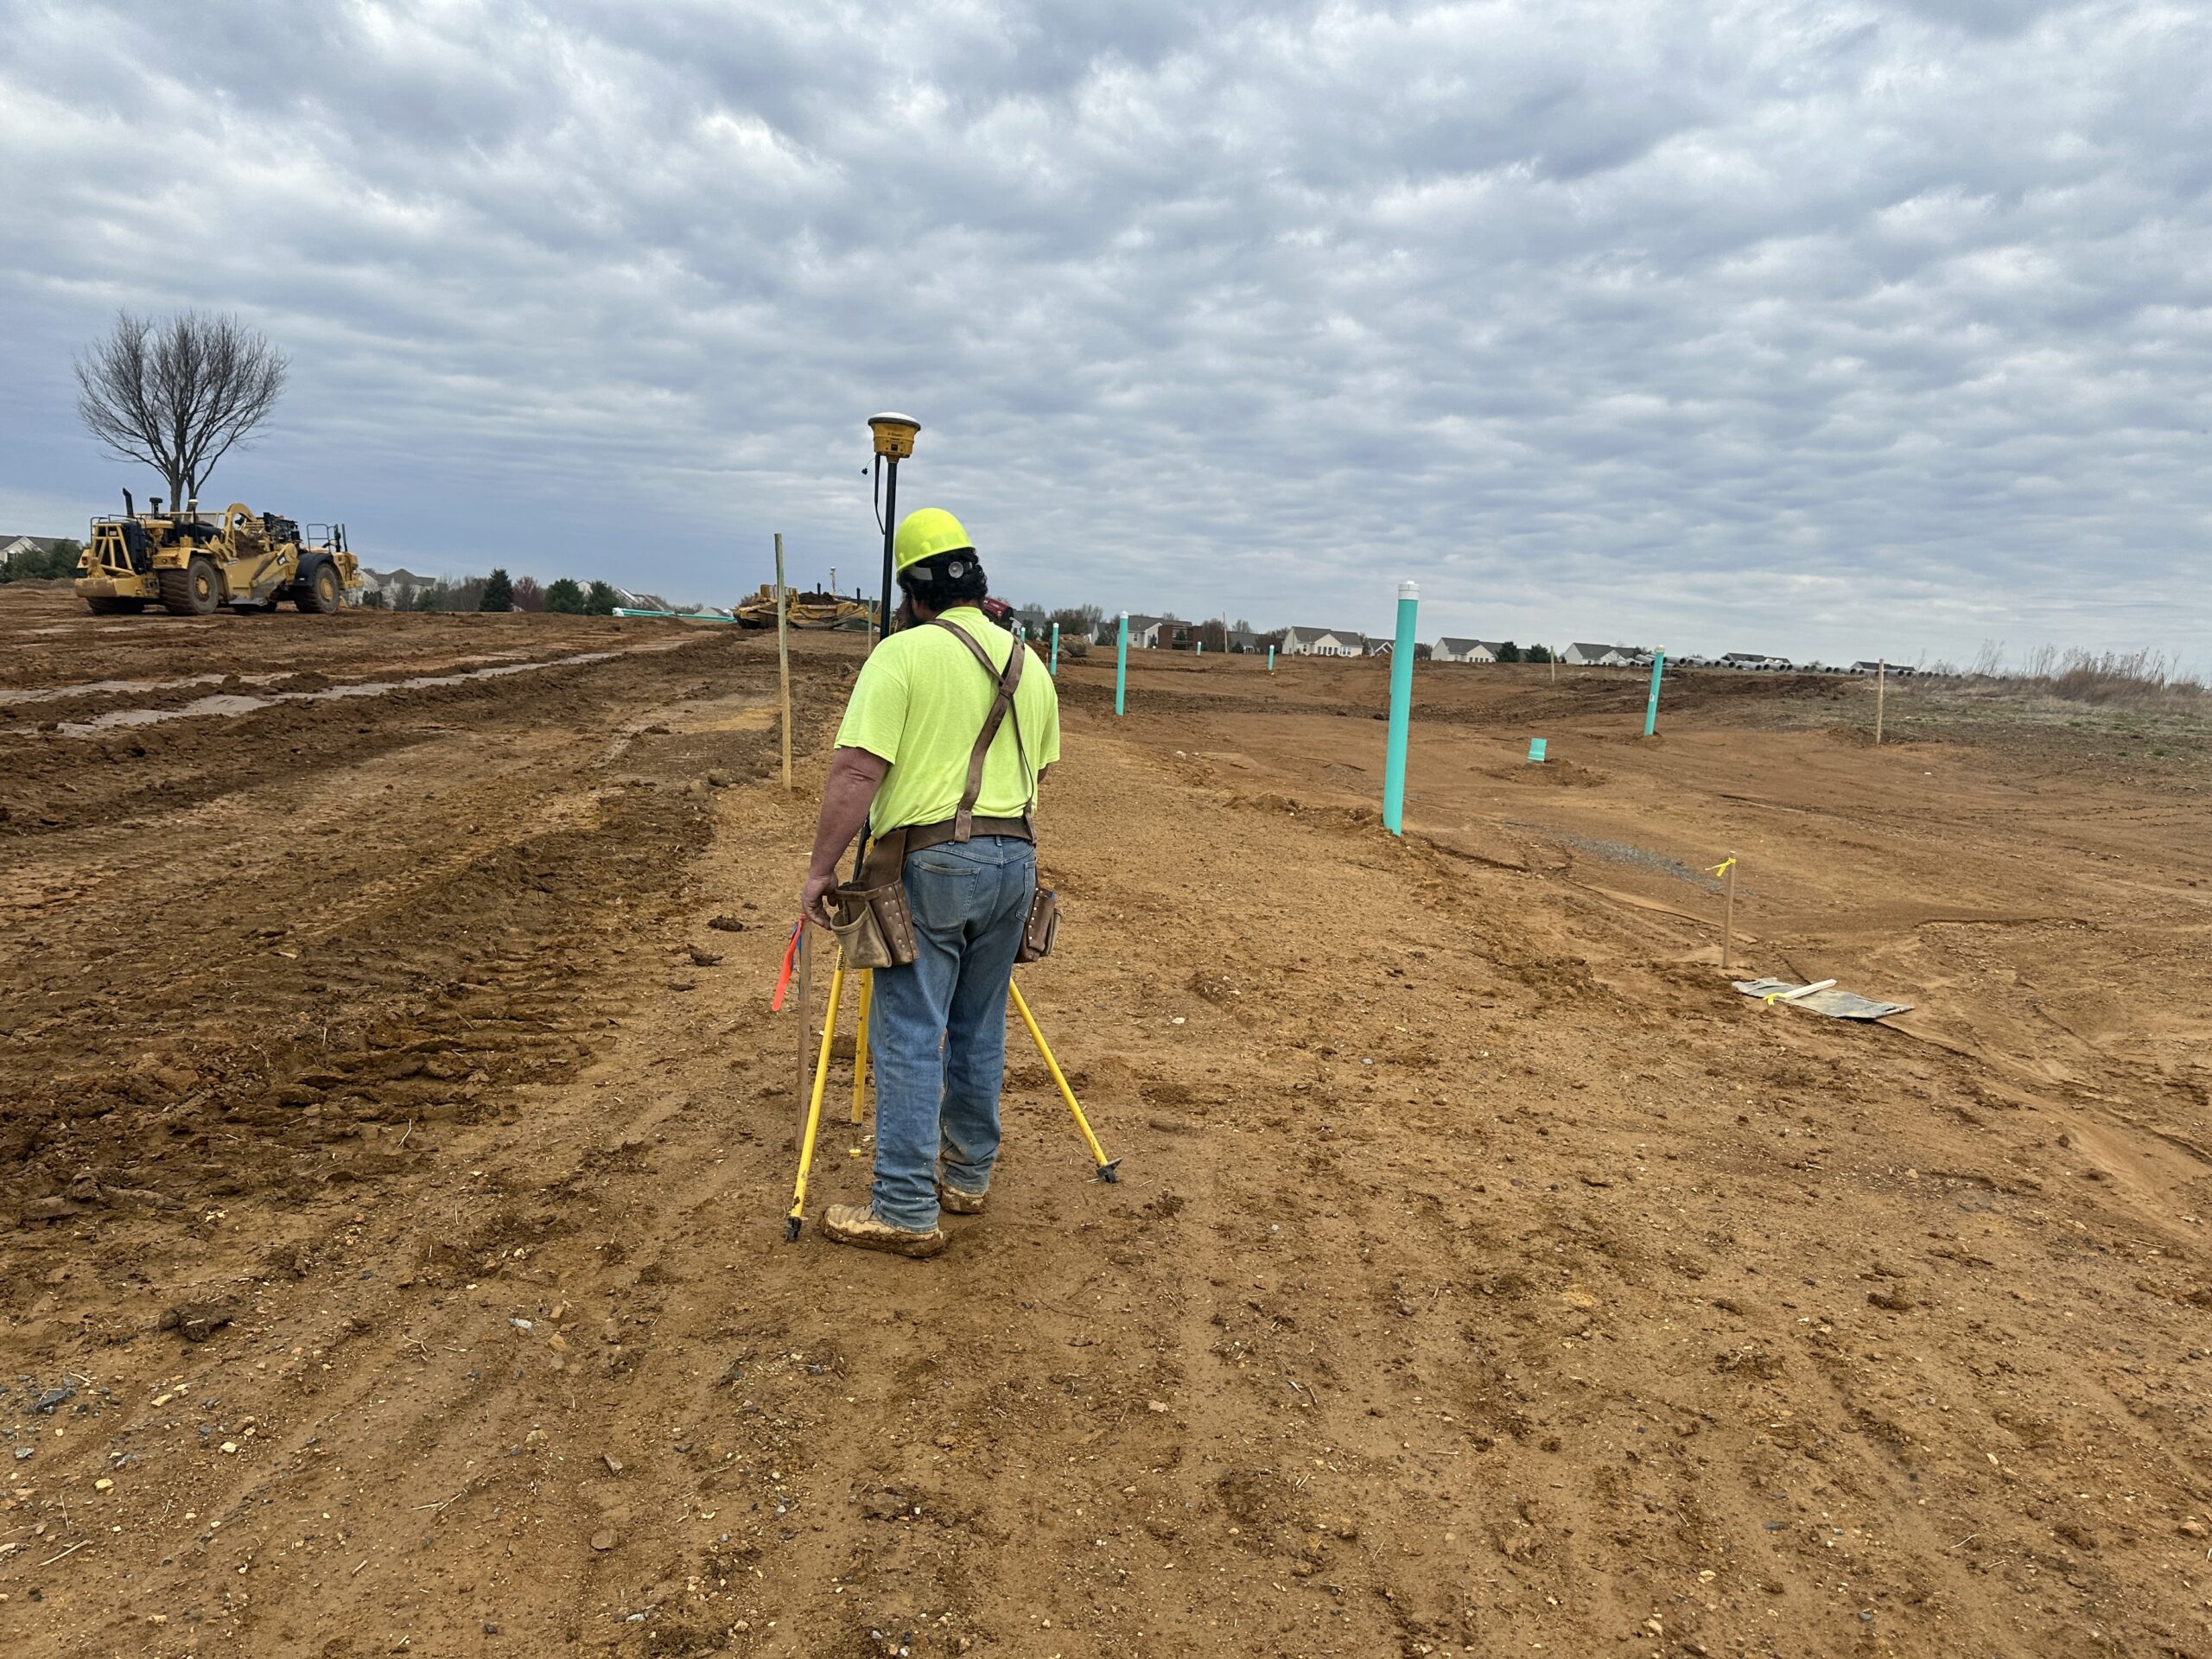
How to Read a Construction Stake for Curb Layout
Reading a construction stake for curb layout involves translating surveyor shorthand into exact horizontal and vertical coordinates. To accurately read the stake, identify the physical hub, measure the horizontal offset (OS) distance from that hub, and apply the vertical cut (C) or fill (F) measurements to reach the required design grade.
Understanding construction stakes is a fundamental skill for civil engineering and site development projects. A construction stake acts as a communication tool between the professional land surveyor and the field leadership developing the site work.
When teams execute a curb layout correctly, they ensure proper water drainage, road alignment, and structural integrity for the entire roadway system. Learning the process of reading a construction stake helps teams avoid costly rework and keeps site development projects on schedule.
How do you read a construction stake for curb layout?
Reading a construction stake for curb layout involves identifying the hub location, measuring the offset distance, and applying the cut or fill measurements to reach the required curb elevation and alignment.
What do the Abbreviations on a Curb Stake Mean?
Surveyors write specific shorthand information on the face of a wooden lath. Deciphering these markings correctly is the first step in successful site preparation.
What is the “Hub” in Surveying?
The hub is your precise starting point. While the tall wooden lath stake contains the written instructions, the hub is a short wooden peg or nail driven flush into the ground directly adjacent to the lath. The top of this hub serves as the exact reference elevation for all subsequent measurements.
How Do You Identify Feature Abbreviations?
Surveyors usually write the feature identifier at the very top of the stake. This abbreviation tells the crew exactly what part of the curb the stake references. Common feature abbreviations include:
- BC: Back of Curb
- TC: Top of Curb
- FC: Face of Curb
How Do You Use the Offset (OS) for Horizontal Positioning?
The Offset (OS) indicates the horizontal distance the stake is set back from the actual curb feature. Surveyors offset stakes to prevent heavy earthmoving machinery from accidentally knocking them over during excavation. If a stake reads “4′ OS”, the crew must measure exactly 4 feet perpendicular from the hub to locate the exact placement of the final curb feature.
How Do You Interpret Cut (C) and Fill (F) Measurements?
Vertical adjustments ensure the final concrete curb sits at the correct design grade. The Cut (C) or Fill (F) markings tell the concrete crew, machine operators and site laborers how much earth to remove or add.
- Cut (C):Indicates the need to dig earth away to reach the exact design grade.
- Fill (F):Indicates the need to add soil or aggregate material to reach the design grade.
How Do Units of Measurement Work on a Stake?
In civil engineering and site development, measurements are almost always recorded in decimals of a foot, not standard inches. For example, a stake reading “F 0.50” means you need to add half a foot of material, which equals 6 inches. A measurement of 0.10 feet is approximately 1.2 inches.
What Are the Steps for Reading a Construction Stake During a Curb Layout?
Translating the surveyor’s markings into physical site boundaries requires a systematic approach. Follow these steps to apply the stake information accurately.
Step 1: Locating and understanding the hub
Always begin by finding the wooden hub or nail driven flush with the ground next to the taller lath stake. Never measure elevations from the top of the tall lath stake, as the lath is simply a billboard for the data. The hub represents your true starting elevation point.
Step 2: Determining horizontal alignment using the offsetStep 2: Determining horizontal alignment using the offset
Look for the Offset marking, such as “5′ OS”, on the stake. Using a high-quality tape measure, measure this exact distance horizontally away from the center of the hub. Ensure you pull the tape measure perfectly level and perpendicular to the proposed curb line to locate where the curb edge will sit.
Step 3: Calculating and achieving the correct height
Note the Cut or Fill value written on the lath. If the stake says Cut (C), measure downward directly from the top of the hub. If the stake says Fill (F), measure upward from the top of the hub. Utilize a tape measure and a standard level to verify this vertical distance accurately.
Step 4: Setting the reference line for curb placement
Once you establish the correct horizontal distance and vertical elevation, use a string line and a laser level to snap a reference line based on these specific measurements. This finalized reference line dictates exactly where the concrete forms or slip-form curb machine must be set.
Build your construction career with Schlouch Incorporated
Are you an experienced construction professional looking to take your career to the next level? Schlouch Incorporated is actively seeking dedicated experts to join our growing team. We rely on highly skilled individuals to deliver precision and quality on every job site.
Apply today and help us continue building exceptional infrastructure across the region.